With the holidays sneaking up quickly, it’s never too early to start thinking about what you’ll serve when family and friends gather. Over the next few weeks, I’ll share recipes to complete your Thanksgiving meal. Recipes you can make a few days – or weeks ahead and freeze. And, I’ll include tips and tricks in each recipe to help ensure your dishes come out perfectly!

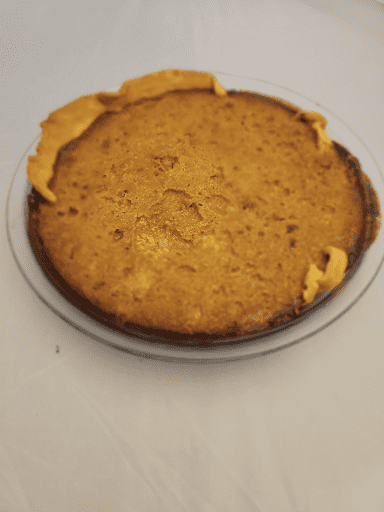
This week I’m highlighting the popular pumpkin pie! Once you have the basics down, you can get creative – which I did with this one – using butternut squash instead of pumpkin.
Pumpkin Pie
Active Time: 30 min
Total Time: 4 hours
Makes: 1 Pie, 8 Pieces
Ingredients
- 2 CUPS BUTTERNUT SQUASH, CUBED (OR 15 OZ. CAN OF PUMPKIN PUREE – SEE BELOW)
- 1 CAN SWEETENED CONDENSED MILK
- ½ CUP BROWN SUGAR
- 1 TBS VANILLA EXTRACT
- 2 TBS PUMPKIN PIE SPICE (SEE BELOW)
- ½ TPS SALT
- 2 TBS BUTTER, MELTED
- 3 EGGS
- 1 PREMADE PIE CRUST
- 1 CUP WHIPPED CREAM, (OPTIONAL)
Directions
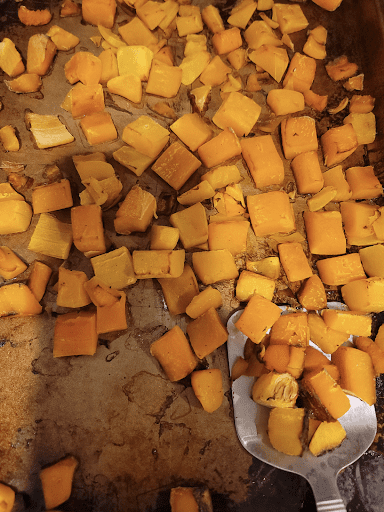
- Preheat oven to 375. Spread cut butternut squash in a single layer on a baking sheet and bake for 45 minutes until tender and slightly charred. Remove and set aside.
- While the squash cools, par-bake the pie crust for 30 minutes, checking halfway through to ensure it’s not burning, removing pie weights if the bottom of the crust hasn’t browned yet.
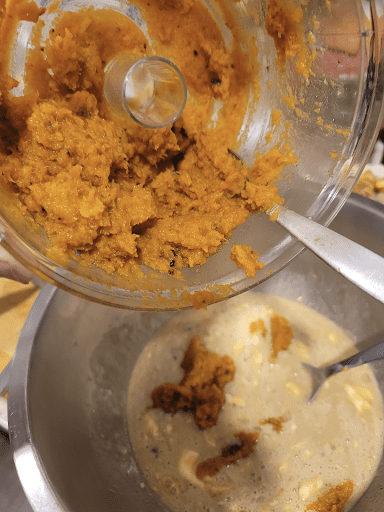
- Once squash is cooled, puree squash in a food processor until completely smooth. Stopping and scraping down the sides as needed to ensure every piece gets processed.
- In a large bowl, mix puree, condensed milk, brown sugar, vanilla, pumpkin pie spice mix, salt, butter, and eggs until incorporated. Pour into baked pie crust.
- Bake for 25 minutes until edges begin to set. Lower oven temperature to 350 and bake for another 25 minutes. Keep an eye on the edges and cover with foil if beginning to brown.
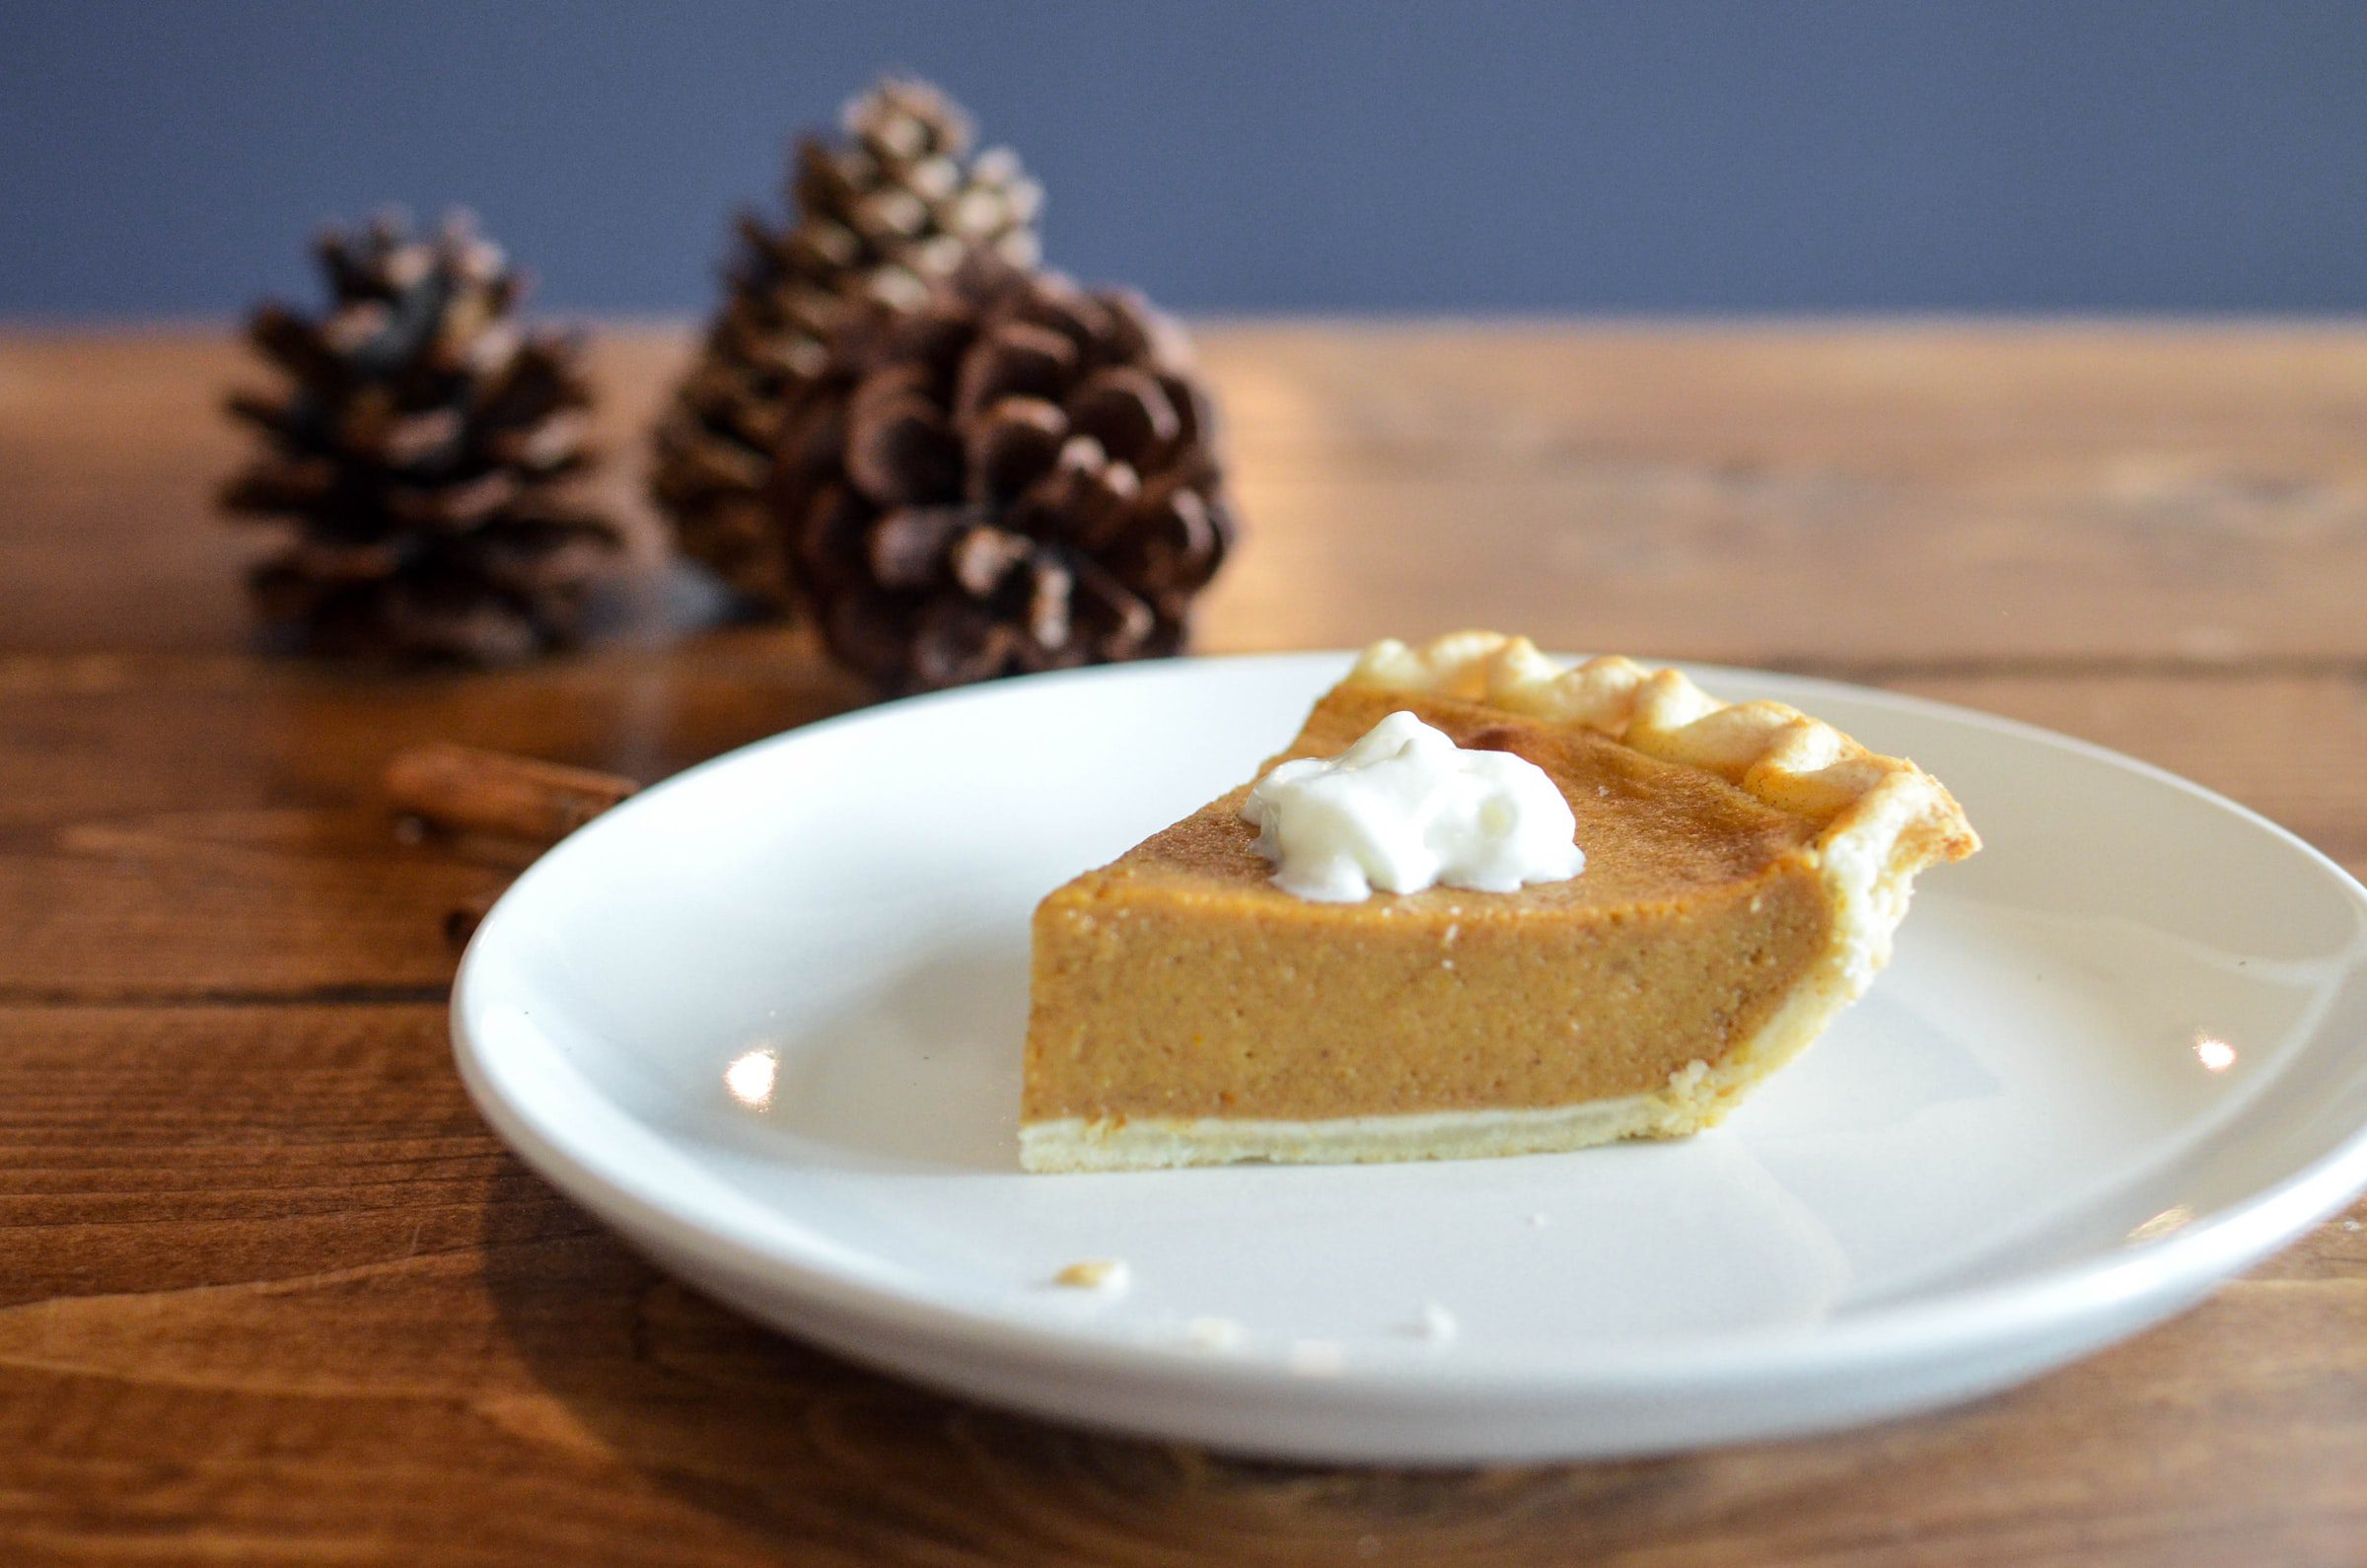
- Let cool and set for at least 2 hours before serving (or wrap and freeze). Top with whipped cream.
Tips
- Nearly any kind of winter squash – which is what a pumpkin is – can be used interchangeably in most recipes. There’s butternut, acorn, honey-nut, and more to experiment with.
- Roasting the squash yourself (vs. using canned puree) will bring out a natural sweetness in the squash, which allows you to cut down on some of the sugar in the recipe.
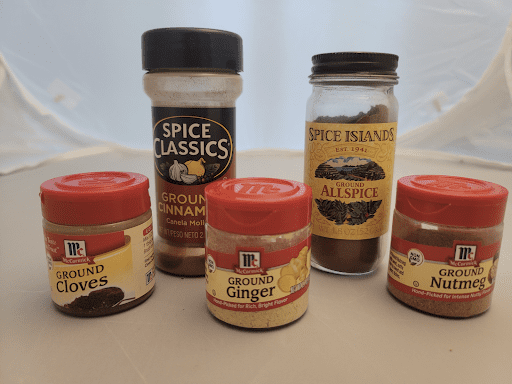
- At the beginning of each fall, I make my own pumpkin pie spice and use it throughout the season in baked goods, coffee, on top of ice cream, etc. I find it easier to have it all in one place, all ready mixed for me, instead of searching for each component in the spice cabinet. I mix the following items:
- 3 TABLESPOONS CINNAMON
- 1TABLESPOON GINGER
- ½ TABLESPOONS ALLSPICE
- ½ TBS NUTMEG
- ¼ TBS GROUND CLOVES
- Take acceptable short-cuts when you can. I buy pre-cut butternut squash and pre-made pie crust. You can certainly buy the whole squash and cut yourself or make your own pie crust. These products save me time and can easily be found in most grocery stores.
- If a recipe calls for the crust to be par-baked (or blind baked), like this one does, don’t cut corners – as I did! Roll the dough into the pie dish, cover with parchment paper and fill with beans, sugar, or pie weights. I didn’t do this, and the dough slipped down the dish walls in parts, making the crust lopsided. It still tastes good, but it certainly didn’t look pretty.
- I always make desserts ahead of time. If you plan on freezing, let the pie cool completely before tightly wrapping it in plastic wrap and freezing. And then move it to the refrigerator the day before you plan to serve it so that it can slowly defrost. On the day of, simply warm the pie in the oven at 375 for 10 -15 minutes while the rest of the meal is being enjoyed.
- If you do end up with an ugly pie, fresh whipped cream on top can cover most blunders. Have some on hand as you’ll want your pies to look beautiful at the table! You can dust the whipped cream with cocoa or a crushed heath candy bar to make it look even more festive – do this after you’ve warmed it up, right before serving.